How a
Violin
Is Made
Scroll to begin the making
Instruments in the hands of players at
The Wood
Speaks First
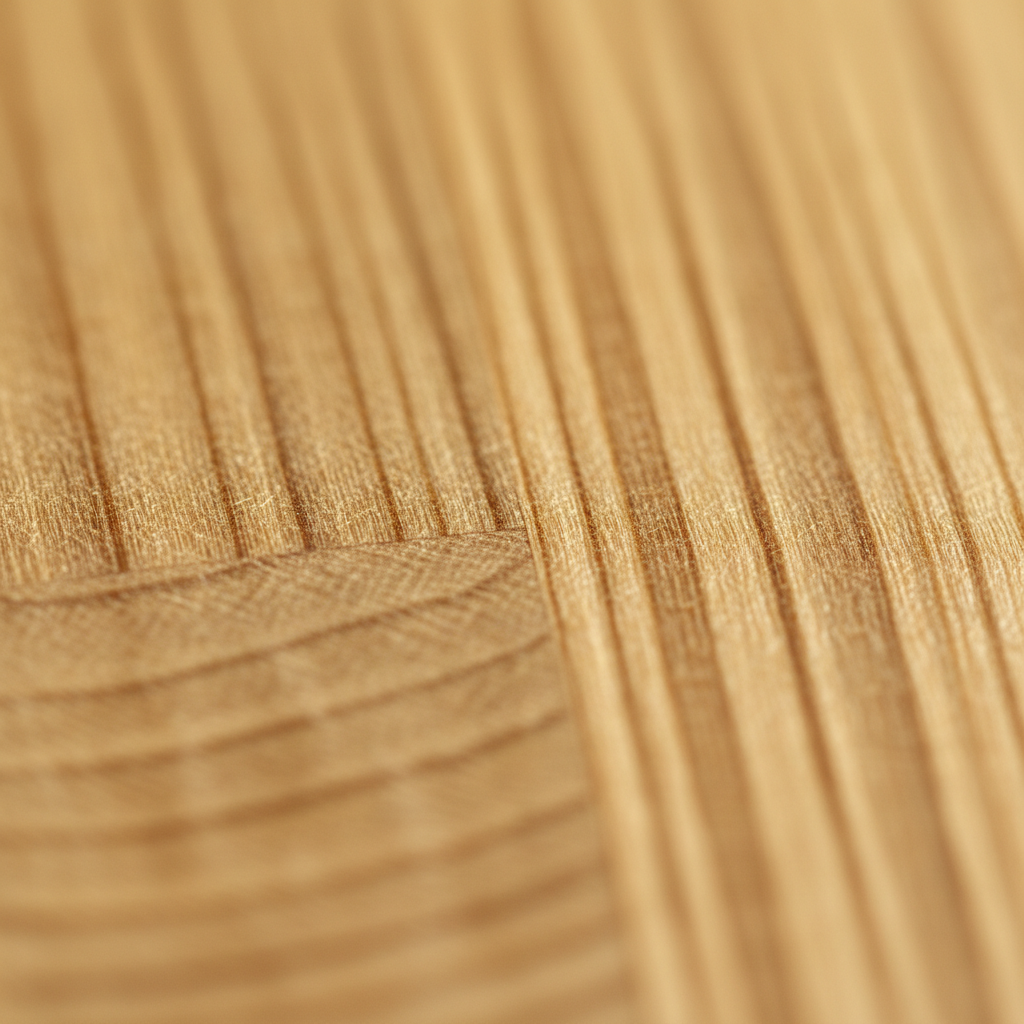
Quartersawn Bosnian spruce — annual rings at 14 per centimetre.
Cleaved, not sawn. Harvested at 1,800 m altitude.
Every instrument begins not at the bench but in the forest. The spruce for a top plate must ring when tapped — a clear, sustained tone that tells you the fibres are aligned, the density even, the resin pockets absent. I spend three days at the sawyer's yard each autumn, tapping hundreds of billets before selecting six.
The wood then waits. A minimum of eight years in the loft above the workshop, where the Adriatic humidity cycles teach it to move. Rushed wood moves unpredictably under the plane. Patient wood moves honestly.
"The tap-tone is not a test. It is a conversation — the wood telling you what it can become."
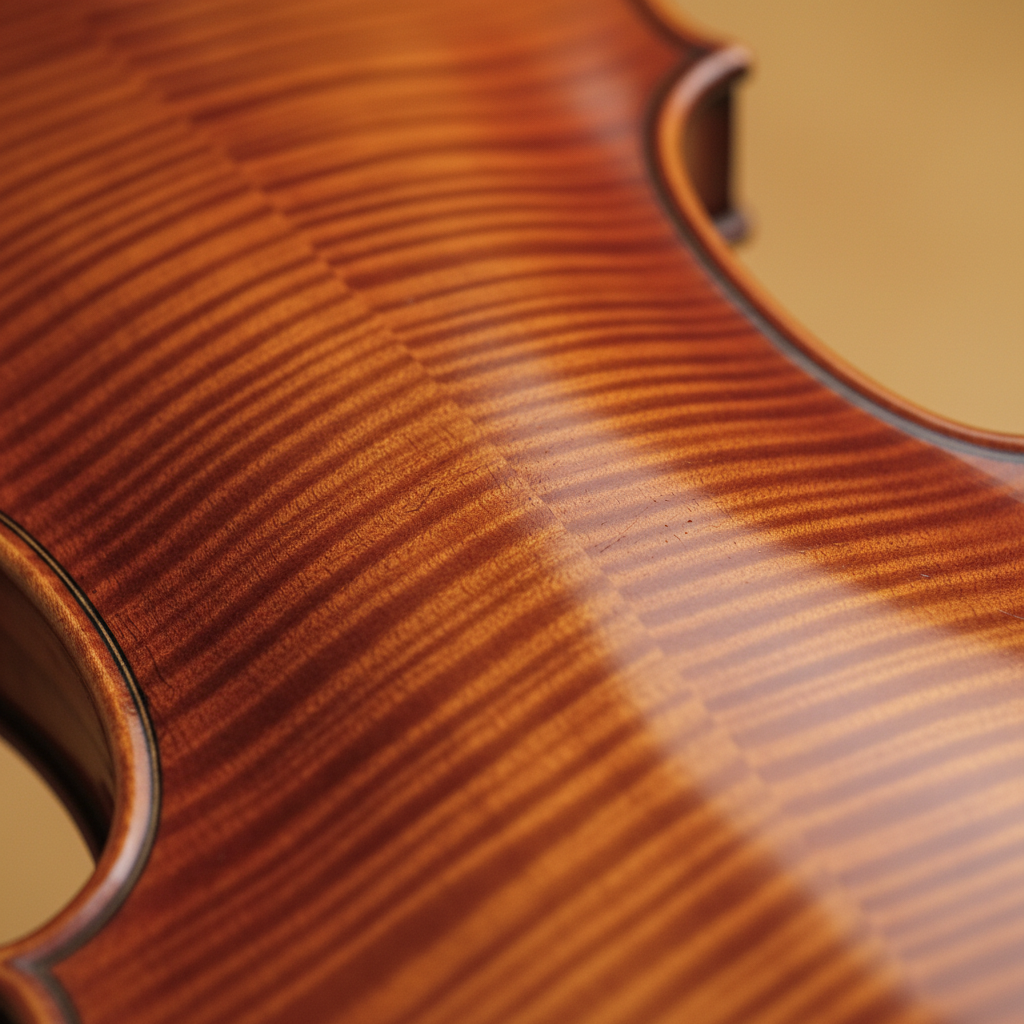
Flamed Bosnian maple — back plate

Alpine spruce forest — Slovenia, 1,700 m
| Species | Component | Source | Age |
|---|---|---|---|
| Picea abies | Top plate | Bosnia / Slovenia | 12–20 yr |
| Acer pseudoplatanus | Back, ribs, neck | Bosnia | 10–15 yr |
| Diospyros ebenum | Fingerboard, pegs | Sri Lanka | Seasoned |
| Salix alba | Blocks, linings | Northern Italy | 6–8 yr |
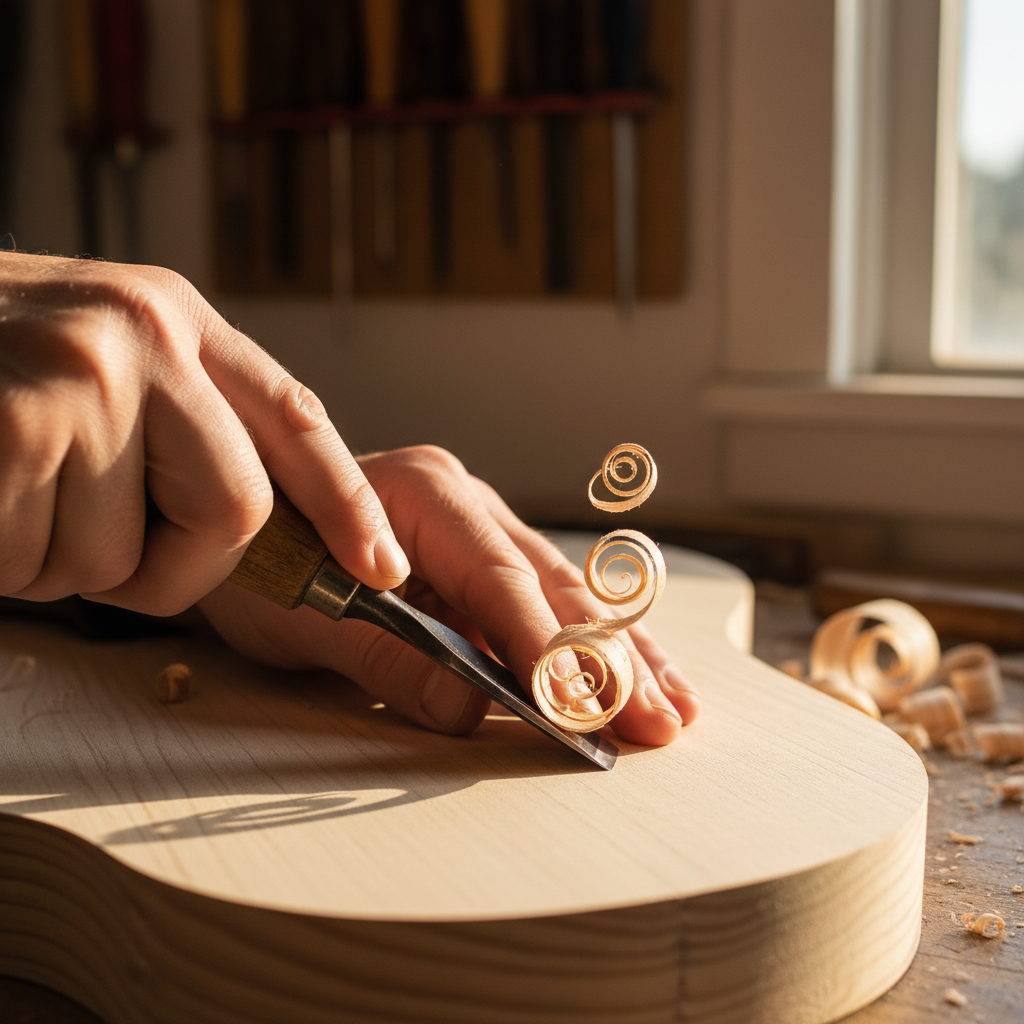
Arching &
Geometry
Cross-section · Transverse Arch · Not to scale
The arch is not decoration — it is the acoustic engine. A plate arched too high becomes stiff, muffled, reluctant. Too flat and it lacks projection, collapsing under the pressure of the soundpost. The geometry I use descends from a Cremonese form I traced from a 1714 instrument, modified over twelve years of listening.
Cross-section templates are checked at seven positions along the long axis and five along the transverse. The recurve at the plate edge — that gentle reverse curve just inside the purfling channel — allows the plate to breathe, to flex under the bow without stressing the glue joint at the rib.
Tap-Tone Evaluation
Before any varnish touches the wood, the violin is assembled "in the white" and played. I hold the plate by a nodal point and tap — listening for the mode 2 and mode 5 resonances to confirm the plate is acoustically balanced. If I'm not satisfied, the arching changes.
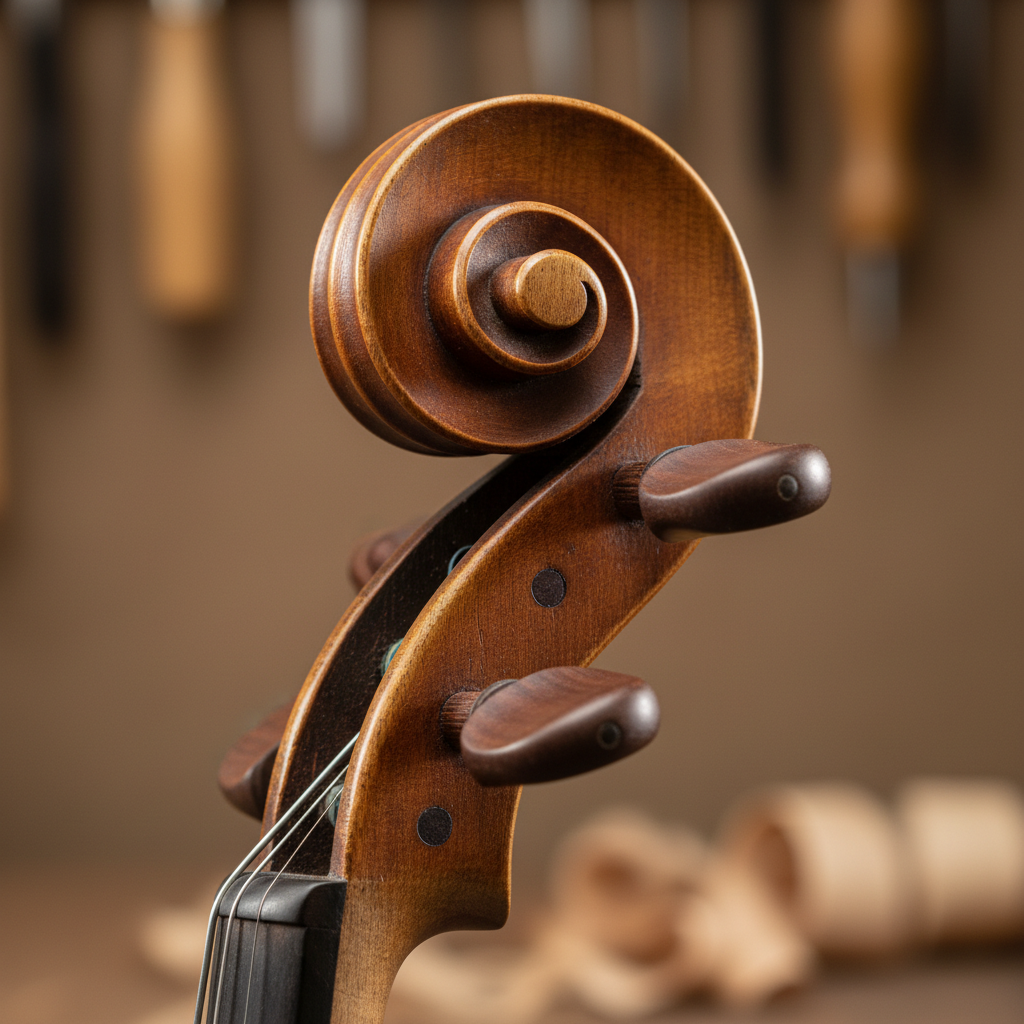
The Scroll — maker's signature
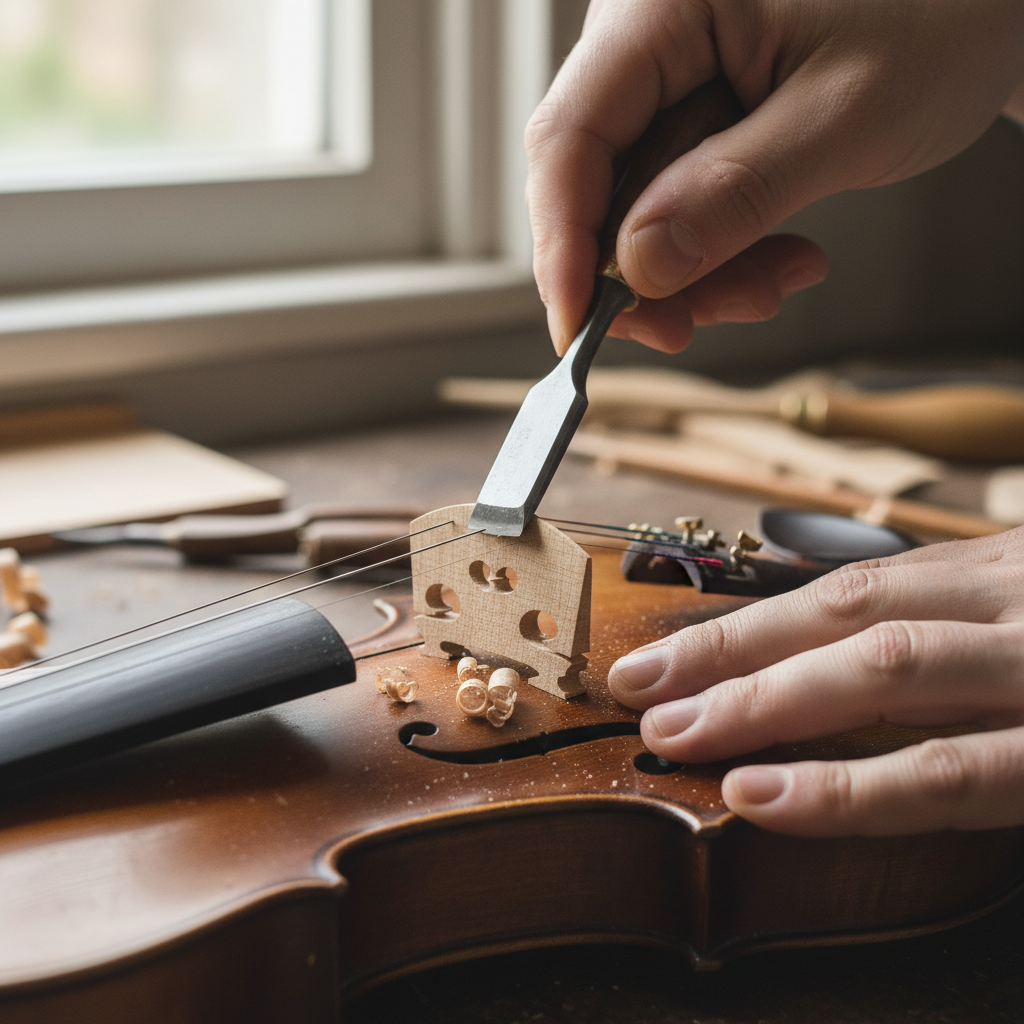
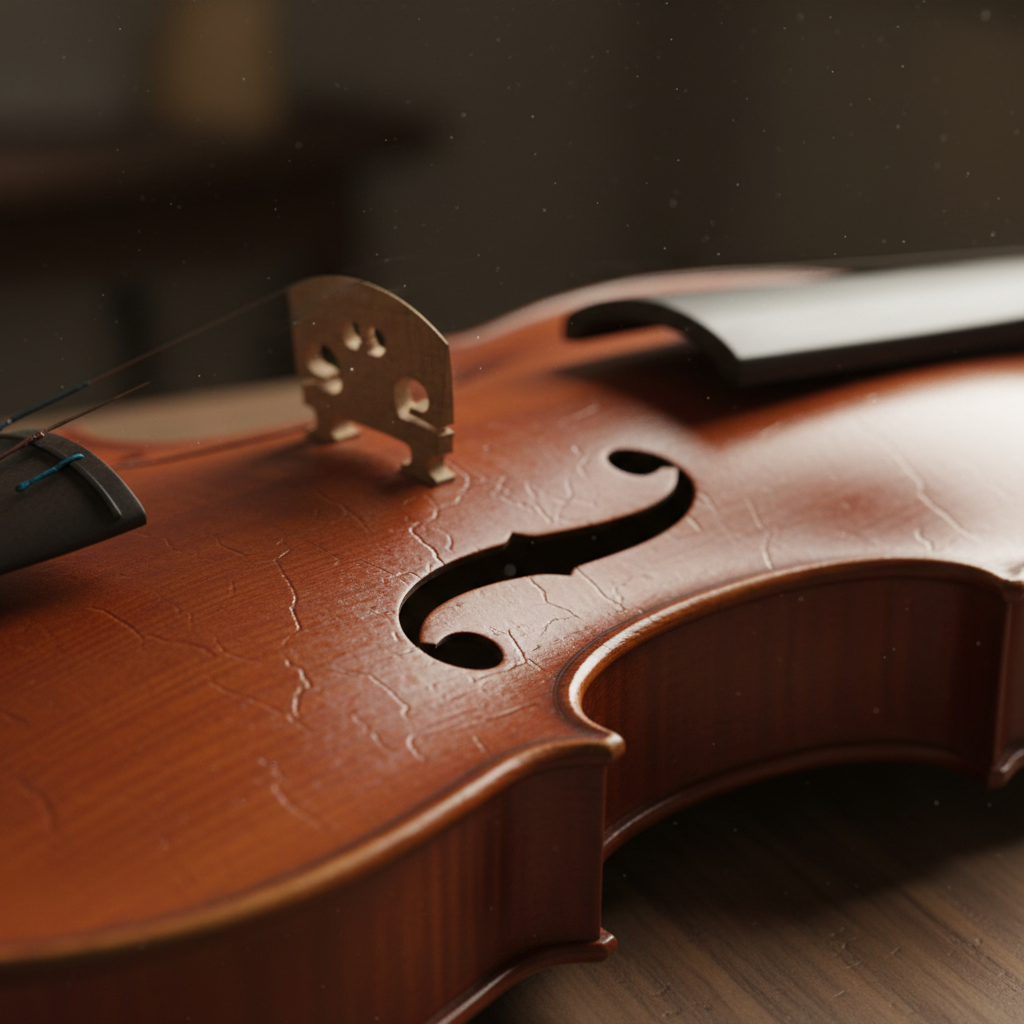
Bridge fitting — gateway of vibration
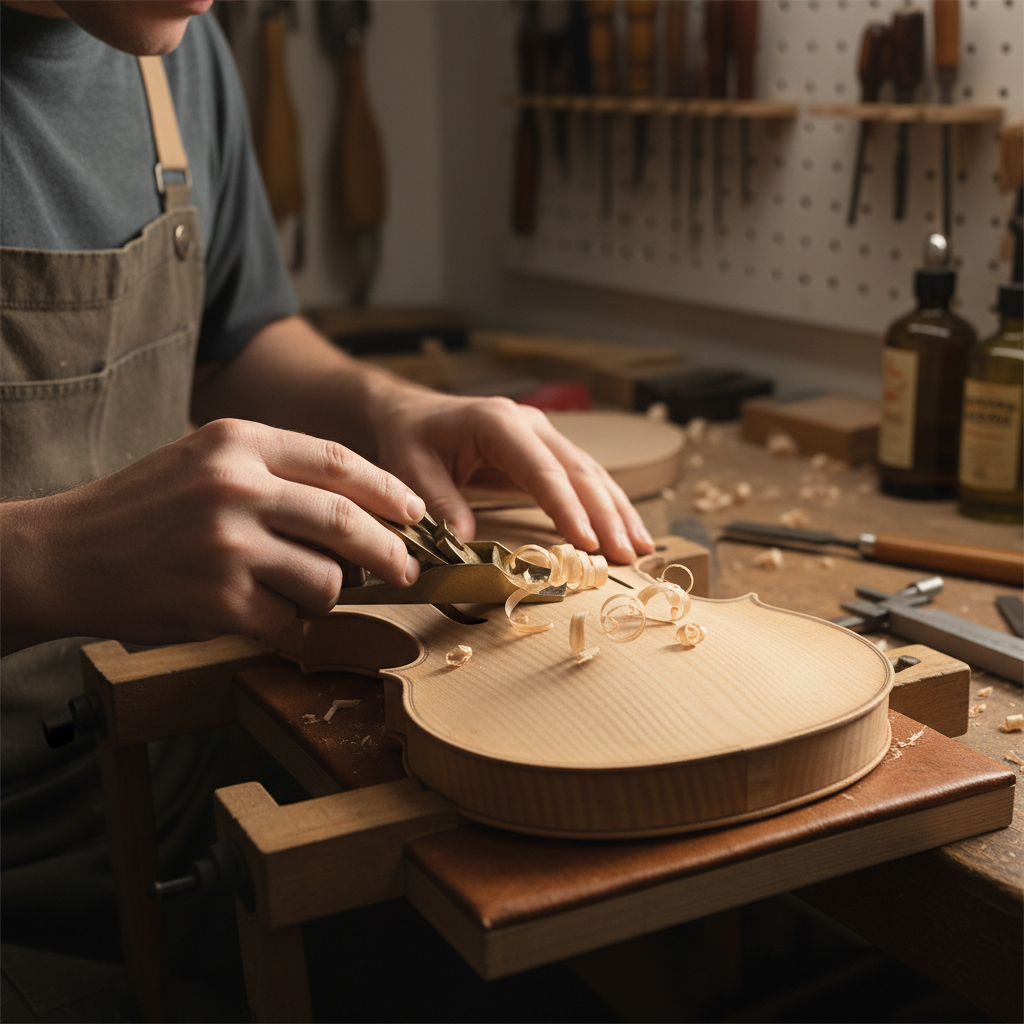
Arching with a finger plane
The Making
Process Guide
Forty pages of annotated photography, technical diagrams, and the questions every serious player should ask when selecting a handmade instrument. Written for players, collectors, and fellow makers.
- How to evaluate wood quality by sight and tap
- Arching templates and how to read them
- What a varnish layer count tells you
- Questions to ask a maker at a workshop visit
- How to care for a new instrument in year one
Varnish &
The Mystery
Varnish is where the instrument stops being wood and begins being an object of beauty. It is also where most of the mythology in violin making lives — the "lost Cremonese recipe," the amber in Stradivari's ground coat, the question of whether varnish is acoustically beneficial or merely a necessary concession to preservation.
My varnish is oil-resin: linseed oil cooked with colophony, Venetian turpentine, and sandarac. Applied in seven to nine layers over six to eight weeks, each coat polished with fine abrasive before the next. The colour builds from a pale honey ground to the deep amber-brown of the final coats, never applied thick enough to damp the wood's vibration.
"Each coat is a decision. Too much and the instrument whispers when it should sing."
Colour build — translucent layers
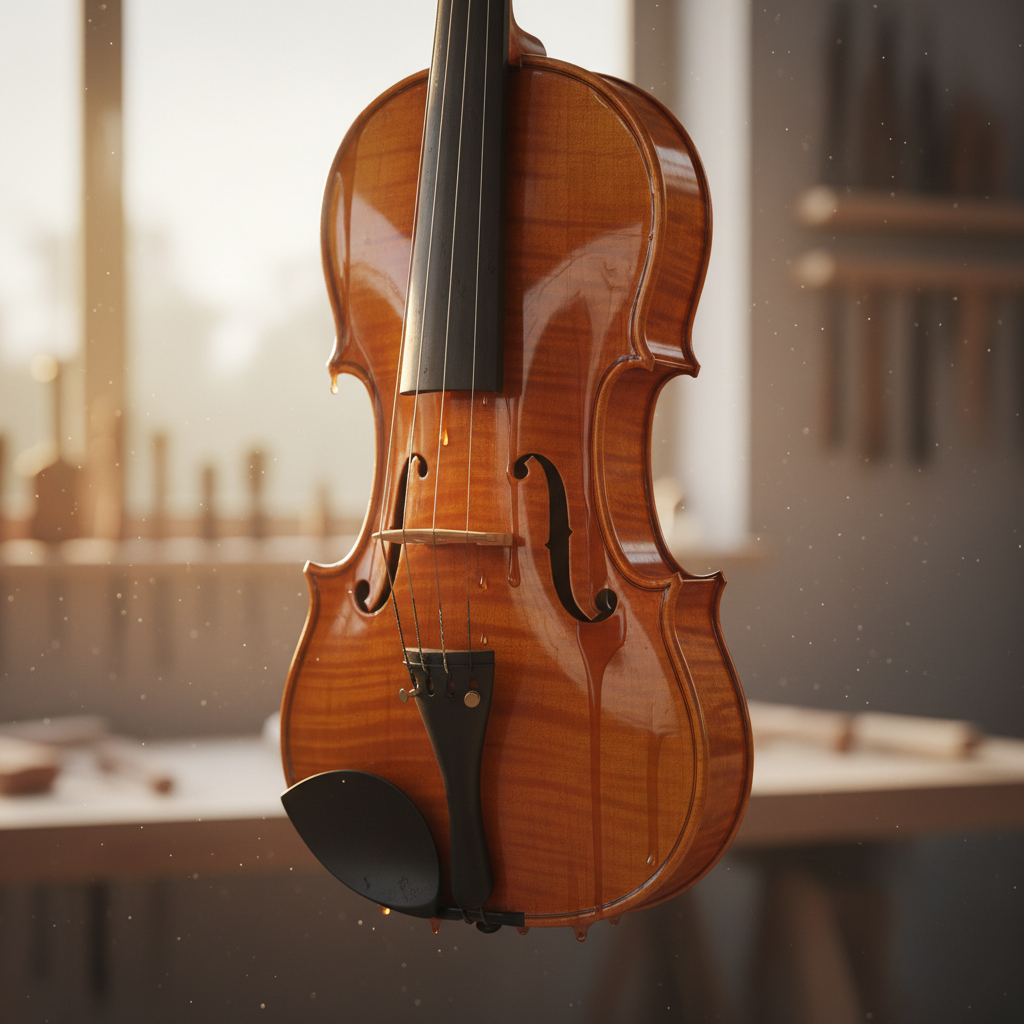
Violin No. 44 · After third coat · Week 5
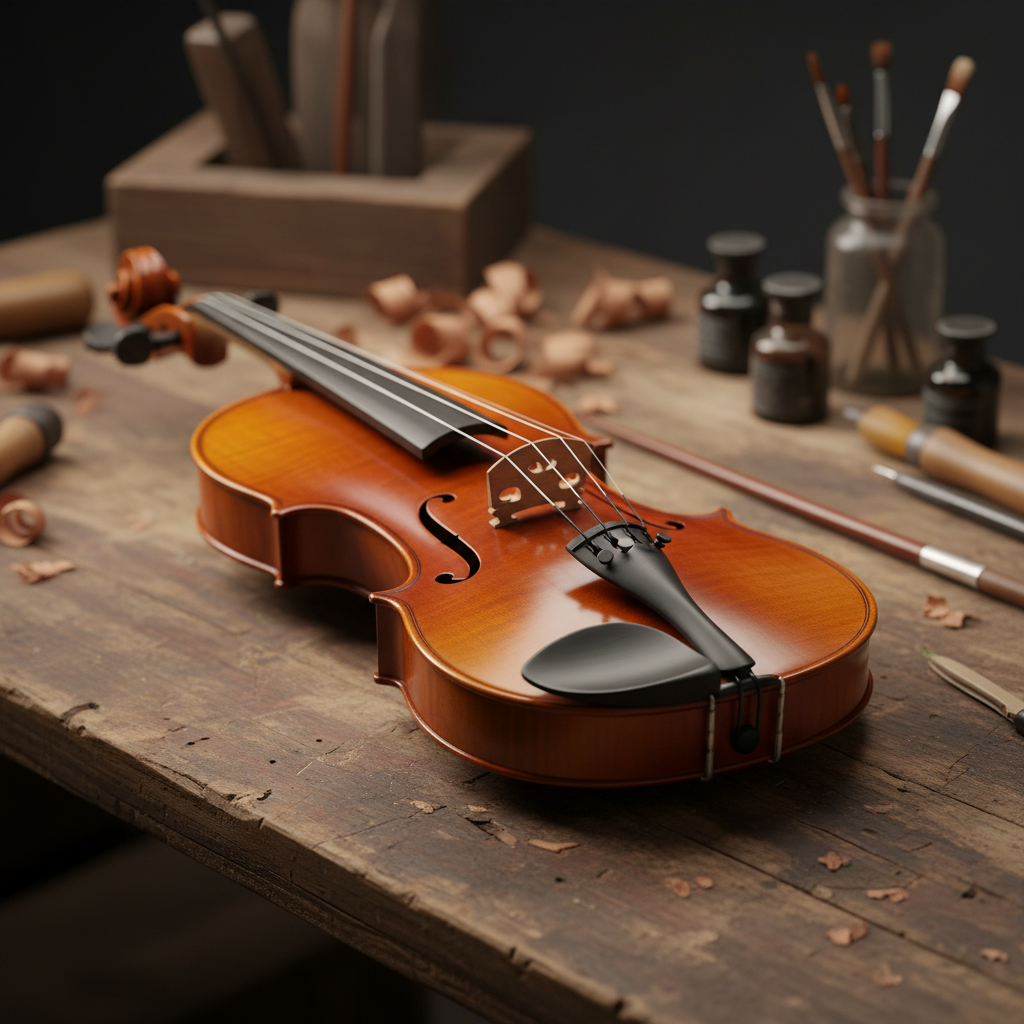
Three
Instruments
Each instrument below represents a distinct chapter of my making. Press play to hear a short excerpt performed by the instrument's owner.
The Brennan
2021 · Stradivari 1715 form
Built for a player who described her ideal sound as "silk over steel." The arching runs slightly higher on the bass side, contributing to a warm, centred G string without sacrificing the clarity of the E.
Wood
Bosnian spruce · Bosnian maple
Varnish
Oil-resin, 8 coats, deep amber
Maeve Brennan
Principal Second Violin, Chicago Symphony
The Hartmann
2023 · Guarneri del Gesù 1742
A Guarneri interpretation built around the "Vieuxtemps" form — asymmetric f-holes, a bold arching that rewards a heavy bow arm. The red-brown varnish was matched to a fragment of original Guarneri ground coat.
Wood
Swiss spruce · Tyrolean maple
Varnish
Spirit-oil hybrid, 7 coats, red-brown
Erik Hartmann
Concertmaster, Oslo Philharmonic
The Collector's Piece
2024 · Original form — "Luthier 2024"
The first instrument made entirely to my own form — not a copy but a conversation with the tradition. The arching is more pronounced in the upper bout, the corners slightly longer. Played by three professional violinists before delivery; all described it as immediately responsive.
Wood
Aged Italian spruce · flamed Bosnian maple
Varnish
Traditional oil, 9 coats, golden amber
Private collection
New York, collector